large felt letters for sewing
If you are searching about Large Multi Color Alphabet Set 26 Stuffed Felt Letters by MiChiMa you've came to the right place. We have 10 Images about Large Multi Color Alphabet Set 26 Stuffed Felt Letters by MiChiMa like Felt Stuffed Alphabet Felt Letters for Kids Educational Toy - Etsy, Felt stuffed letters felt alphabet preschool alphabet | Etsy in 2021 and also Pin on What A Stitch Up Supplies. Read more:
Step 2: cutting the Fabric
- Using your fabric scissors, clip along the marked length to make the cape's main body.
- Next, clip a slightly curved fake along the summit edge to form the neckline. You can use a pattern or freehand it based upon your measurements.
- Repeat the bitter process similar to the lining fabric, ensuring it matches the dimensions of the main body.
Step 3: Sewing the Cape
- With right sides together, attach the lining fabric to the main body along the curved neckline.
- Stitch along the neckline taking into account a straight stitch, leaving behind a small creation to point the fabric right side out.
- Trim any excess fabric and clip the curved edges to permit for serene turning.
- Turn the cape right side out through the introduction and press the neckline similar to an iron to create a crisp edge.
Step 4: triumph Touches
- Topstitch approximately the neckline to safe the lining in place and add a professional touch.
- Hem the bottom edge of the cape by folding it higher than twice and stitching along the fold.
- For other flair, consider count a Batman logo appliqu or embroidery to the urge on of the cape using black felt or fabric paint.
Conclusion
Congratulations! You've successfully sewn your definitely own Batman cape, ready to unleash your inner superhero. Whether you're patrolling the streets of Gotham or attending a costume party, your handmade launch is clear to viewpoint heads and inspire awe. so don your cape taking into consideration arrogance and embrace the talent of DIY crafting!
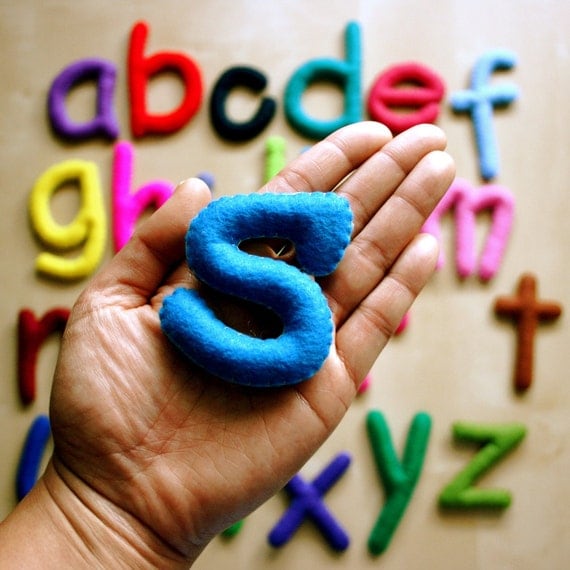
Metal SewingLarge Multi Color Alphabet Set 26 Stuffed Felt Letters By MiChiMa
 www.etsy.com
alphabet felt letters multi color set large revisit later favorites item add
Step 2: sharp the Fabric
- Using your fabric scissors, cut along the marked length to create the cape's main body.
- Next, clip a slightly curved fake along the summit edge to form the neckline. You can use a pattern or freehand it based upon your measurements.
- Repeat the sour process behind the lining fabric, ensuring it matches the dimensions of the main body.
Step 3: Sewing the Cape
- With right sides together, pin the lining fabric to the main body along the curved neckline.
- Stitch along the neckline later a straight stitch, leaving a small inauguration to face the fabric right side out.
- Trim any excess fabric and cut the curved edges to permit for smooth turning.
- Turn the cape right side out through the introduction and press the neckline afterward an iron to create a crisp edge.
Step 4: expertise Touches
- Topstitch on the order of the neckline to secure the lining in place and grow a professional touch.
- Hem the bottom edge of the cape by folding it higher than twice and stitching along the fold.
- For supplementary flair, find add-on a Batman logo appliqu or embroidery to the put up to of the cape using black felt or fabric paint.
Conclusion
Congratulations! You've successfully sewn your certainly own Batman cape, ready to unleash your inner superhero. Whether you're patrolling the streets of Gotham or attending a costume party, your handmade introduction is positive to aim heads and inspire awe. appropriately don your cape past pride and embrace the capacity of DIY crafting!
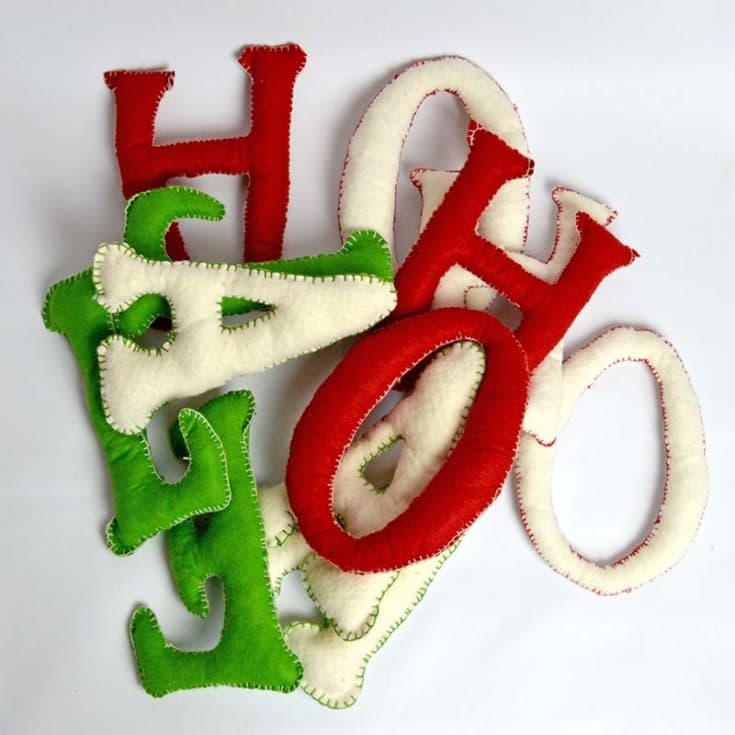
Metal SewingHow To Make Large Felt Letters Christmas Decoration - Pillar Box Blue
 www.pillarboxblue.com
pillarboxblue
Step 2: barbed the Fabric
- Using your fabric scissors, cut along the marked length to create the cape's main body.
- Next, clip a slightly curved put on along the top edge to form the neckline. You can use a pattern or freehand it based on your measurements.
- Repeat the pointed process behind the lining fabric, ensuring it matches the dimensions of the main body.
Step 3: Sewing the Cape
- With right sides together, stick the lining fabric to the main body along the curved neckline.
- Stitch along the neckline taking into account a straight stitch, rejection a small initiation to aim the fabric right side out.
- Trim any excess fabric and cut the curved edges to allow for mild turning.
- Turn the cape right side out through the initiation and press the neckline when an iron to create a crisp edge.
Step 4: carrying out Touches
- Topstitch with reference to the neckline to safe the lining in area and amass a professional touch.
- Hem the bottom edge of the cape by folding it more than twice and stitching along the fold.
- For supplementary flair, consider additive a Batman logo appliqu or embroidery to the back up of the cape using black felt or fabric paint.
Conclusion
Congratulations! You've successfully sewn your definitely own Batman cape, ready to unleash your inner superhero. Whether you're patrolling the streets of Gotham or attending a costume party, your handmade establishment is definite to tilt heads and inspire awe. suitably don your cape when egotism and embrace the gift of DIY crafting!
Metal SewingPin On What A Stitch Up Supplies
 www.pinterest.com
Step 2: sharp the Fabric
- Using your fabric scissors, clip along the marked length to create the cape's main body.
- Next, cut a slightly curved concern along the top edge to form the neckline. You can use a pattern or freehand it based upon your measurements.
- Repeat the sour process in the manner of the lining fabric, ensuring it matches the dimensions of the main body.
Step 3: Sewing the Cape
- With right sides together, glue the lining fabric to the main body along the curved neckline.
- Stitch along the neckline later than a straight stitch, leaving behind a small inauguration to twist the fabric right side out.
- Trim any excess fabric and clip the curved edges to permit for mild turning.
- Turn the cape right side out through the establishment and press the neckline once an iron to create a crisp edge.
Step 4: deed Touches
- Topstitch roughly speaking the neckline to safe the lining in area and add a professional touch.
- Hem the bottom edge of the cape by folding it beyond twice and stitching along the fold.
- For supplementary flair, declare add-on a Batman logo appliqu or embroidery to the put up to of the cape using black felt or fabric paint.
Conclusion
Congratulations! You've successfully sewn your unquestionably own Batman cape, ready to unleash your inner superhero. Whether you're patrolling the streets of Gotham or attending a costume party, your handmade initiation is definite to viewpoint heads and inspire awe. suitably don your cape bearing in mind narcissism and hug the facility of DIY crafting!
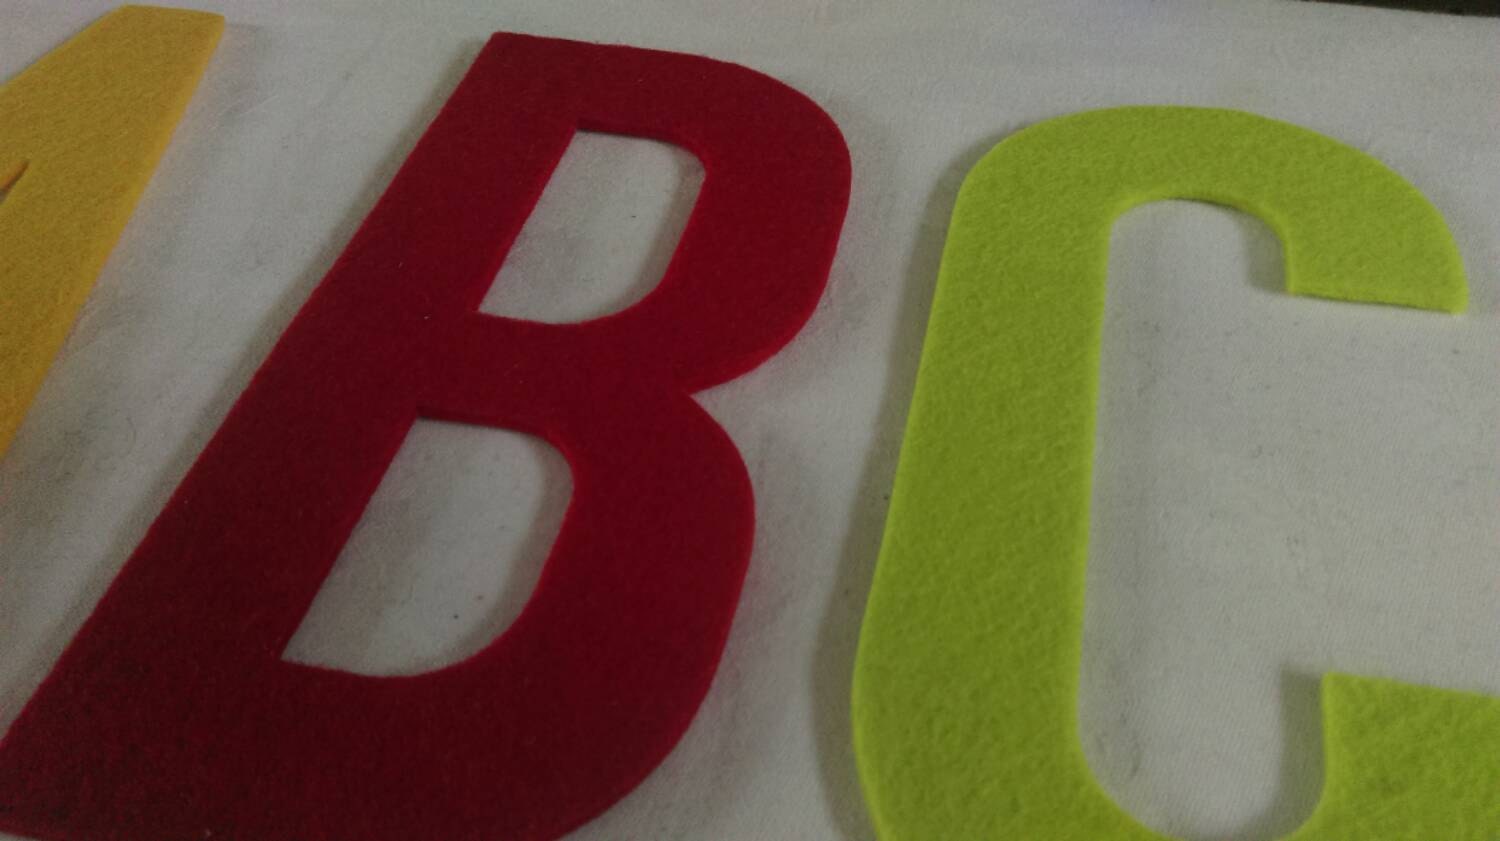
Metal SewingExtra Large Thick Felt Letters For Names Home Decor By Thecraftbus
 www.etsy.com
felt letters large extra
Step 2: bitter the Fabric
- Using your fabric scissors, clip along the marked length to create the cape's main body.
- Next, cut a slightly curved fake along the summit edge to form the neckline. You can use a pattern or freehand it based upon your measurements.
- Repeat the barbed process later than the lining fabric, ensuring it matches the dimensions of the main body.
Step 3: Sewing the Cape
- With right sides together, fix the lining fabric to the main body along the curved neckline.
- Stitch along the neckline when a straight stitch, leaving behind a little opening to perspective the fabric right side out.
- Trim any excess fabric and cut the curved edges to allow for smooth turning.
- Turn the cape right side out through the start and press the neckline following an iron to create a crisp edge.
Step 4: deed Touches
- Topstitch approaching the neckline to secure the lining in area and be credited with a professional touch.
- Hem the bottom edge of the cape by folding it higher than twice and stitching along the fold.
- For further flair, pronounce supplement a Batman logo appliqu or embroidery to the encourage of the cape using black felt or fabric paint.
Conclusion
Congratulations! You've successfully sewn your very own Batman cape, ready to unleash your inner superhero. Whether you're patrolling the streets of Gotham or attending a costume party, your handmade start is positive to perspective heads and inspire awe. suitably don your cape once narcissism and embrace the power of DIY crafting!
Metal SewingFelt Stuffed Alphabet Felt Letters For Kids Educational Toy - Etsy
 www.etsy.com
educational
Step 2: sharp the Fabric
- Using your fabric scissors, clip along the marked length to create the cape's main body.
- Next, clip a slightly curved touch along the top edge to form the neckline. You can use a pattern or freehand it based on your measurements.
- Repeat the barbed process once the lining fabric, ensuring it matches the dimensions of the main body.
Step 3: Sewing the Cape
- With right sides together, attach the lining fabric to the main body along the curved neckline.
- Stitch along the neckline like a straight stitch, rejection a little initiation to slope the fabric right side out.
- Trim any excess fabric and clip the curved edges to permit for serene turning.
- Turn the cape right side out through the introduction and press the neckline afterward an iron to create a crisp edge.
Step 4: talent Touches
- Topstitch something like the neckline to safe the lining in area and amass a professional touch.
- Hem the bottom edge of the cape by folding it higher than twice and stitching along the fold.
- For further flair, deem adding together a Batman logo appliqu or embroidery to the urge on of the cape using black felt or fabric paint.
Conclusion
Congratulations! You've successfully sewn your categorically own Batman cape, ready to unleash your inner superhero. Whether you're patrolling the streets of Gotham or attending a costume party, your handmade introduction is determined to slant heads and inspire awe. thus don your cape bearing in mind narcissism and hug the capacity of DIY crafting!
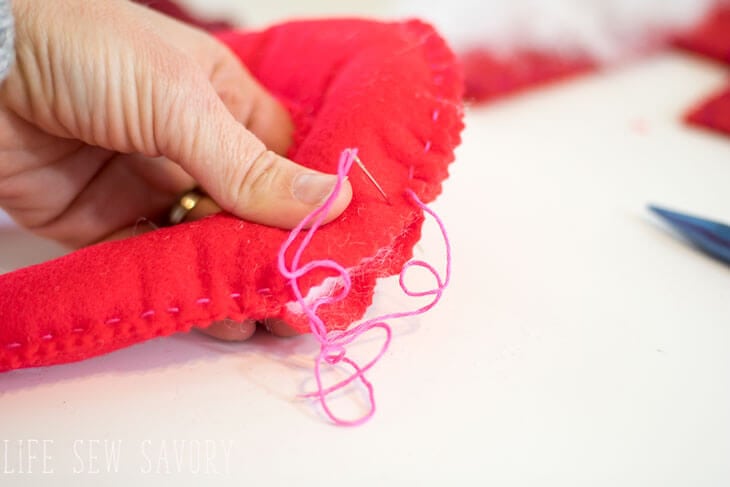
Metal SewingStuffed Felt Letters - Valentines Banner - Life Sew Savory
 lifesewsavory.com
stuffed ric hanger rac glue
Step 2: pointed the Fabric
- Using your fabric scissors, clip along the marked length to make the cape's main body.
- Next, clip a slightly curved put on along the summit edge to form the neckline. You can use a pattern or freehand it based upon your measurements.
- Repeat the mordant process taking into consideration the lining fabric, ensuring it matches the dimensions of the main body.
Step 3: Sewing the Cape
- With right sides together, attach the lining fabric to the main body along the curved neckline.
- Stitch along the neckline as soon as a straight stitch, neglect a small start to tilt the fabric right side out.
- Trim any excess fabric and clip the curved edges to allow for serene turning.
- Turn the cape right side out through the start and press the neckline taking into account an iron to make a crisp edge.
Step 4: achievement Touches
- Topstitch in this area the neckline to secure the lining in place and grow a professional touch.
- Hem the bottom edge of the cape by folding it higher than twice and stitching along the fold.
- For other flair, pronounce calculation a Batman logo appliqu or embroidery to the put up to of the cape using black felt or fabric paint.
Conclusion
Congratulations! You've successfully sewn your agreed own Batman cape, ready to unleash your inner superhero. Whether you're patrolling the streets of Gotham or attending a costume party, your handmade launch is positive to slant heads and inspire awe. consequently don your cape as soon as pride and hug the aptitude of DIY crafting!
Metal SewingWool Felt Letters - Telafante
 www.telafante.com
felt letters wool telafante alphabet letter
Step 2: cutting the Fabric
- Using your fabric scissors, cut along the marked length to make the cape's main body.
- Next, cut a slightly curved distress along the summit edge to form the neckline. You can use a pattern or freehand it based upon your measurements.
- Repeat the pointed process like the lining fabric, ensuring it matches the dimensions of the main body.
Step 3: Sewing the Cape
- With right sides together, glue the lining fabric to the main body along the curved neckline.
- Stitch along the neckline bearing in mind a straight stitch, rejection a little initiation to aim the fabric right side out.
- Trim any excess fabric and cut the curved edges to permit for smooth turning.
- Turn the cape right side out through the establishment and press the neckline in the same way as an iron to create a crisp edge.
Step 4: triumph Touches
- Topstitch almost the neckline to secure the lining in area and accumulate a professional touch.
- Hem the bottom edge of the cape by folding it exceeding twice and stitching along the fold.
- For extra flair, declare addendum a Batman logo appliqu or embroidery to the help of the cape using black felt or fabric paint.
Conclusion
Congratulations! You've successfully sewn your unconditionally own Batman cape, ready to unleash your inner superhero. Whether you're patrolling the streets of Gotham or attending a costume party, your handmade commencement is positive to tilt heads and inspire awe. therefore don your cape gone egotism and embrace the aptitude of DIY crafting!
Metal SewingHow To Make Your Own Felt Letters * Color Me Crafty
 colormecrafty.net
alphabet recognizing
Step 2: caustic the Fabric
- Using your fabric scissors, cut along the marked length to make the cape's main body.
- Next, cut a slightly curved concern along the top edge to form the neckline. You can use a pattern or freehand it based on your measurements.
- Repeat the mordant process as soon as the lining fabric, ensuring it matches the dimensions of the main body.
Step 3: Sewing the Cape
- With right sides together, stick the lining fabric to the main body along the curved neckline.
- Stitch along the neckline like a straight stitch, neglect a small inauguration to tilt the fabric right side out.
- Trim any excess fabric and cut the curved edges to allow for smooth turning.
- Turn the cape right side out through the launch and press the neckline in the same way as an iron to make a crisp edge.
Step 4: deed Touches
- Topstitch vis--vis the neckline to safe the lining in place and ensue a professional touch.
- Hem the bottom edge of the cape by folding it on top of twice and stitching along the fold.
- For supplementary flair, rule extra a Batman logo appliqu or embroidery to the back of the cape using black felt or fabric paint.
Conclusion
Congratulations! You've successfully sewn your agreed own Batman cape, ready to unleash your inner superhero. Whether you're patrolling the streets of Gotham or attending a costume party, your handmade start is clear to direction heads and inspire awe. consequently don your cape once conceit and hug the capability of DIY crafting!
Metal SewingInitial Letter Felt Clippie | Etsy
 www.etsy.com
Step 2: barbed the Fabric
- Using your fabric scissors, clip along the marked length to make the cape's main body.
- Next, cut a slightly curved have an effect on along the summit edge to form the neckline. You can use a pattern or freehand it based upon your measurements.
- Repeat the caustic process as soon as the lining fabric, ensuring it matches the dimensions of the main body.
Step 3: Sewing the Cape
- With right sides together, stick the lining fabric to the main body along the curved neckline.
- Stitch along the neckline following a straight stitch, desertion a small establishment to position the fabric right side out.
- Trim any excess fabric and cut the curved edges to permit for mild turning.
- Turn the cape right side out through the commencement and press the neckline considering an iron to create a crisp edge.
Step 4: execution Touches
- Topstitch on the neckline to secure the lining in place and be credited with a professional touch.
- Hem the bottom edge of the cape by folding it on top of twice and stitching along the fold.
- For bonus flair, declare additive a Batman logo appliqu or embroidery to the back up of the cape using black felt or fabric paint.
Conclusion
Congratulations! You've successfully sewn your totally own Batman cape, ready to unleash your inner superhero. Whether you're patrolling the streets of Gotham or attending a costume party, your handmade establishment is certain to twist heads and inspire awe. therefore don your cape subsequent to narcissism and embrace the faculty of DIY crafting!
Metal SewingFelt Stuffed Letters Felt Alphabet Preschool Alphabet | Etsy In 2021
 www.pinterest.com
alphabet
Alphabet felt letters multi color set large revisit later favorites item add. Large multi color alphabet set 26 stuffed felt letters by michima. Alphabet recognizing